
Run the branch 4 min read
Seats, roles and the join code
Create the team, invite reps by email or with a code, set who manages, and know what is shared and what stays each rep's own.
This guide is hands-on. Follow along in the app.
A free trial takes two minutes: 25 project views or 14 days, whichever comes first. No card.
- 1Create the teamSettings → Team & roles → Create team. You are the owner. Team Flow appears in your sidebar the moment the team exists; nothing to install.
- 2Invite by email, or share the codeInvite with an email and a role, or hand out the 8-character join code (anyone with it joins as a member). Invites arrive by email with an accept link and expire after 14 days. Rotate the code any time to invalidate the old one, or disable it.
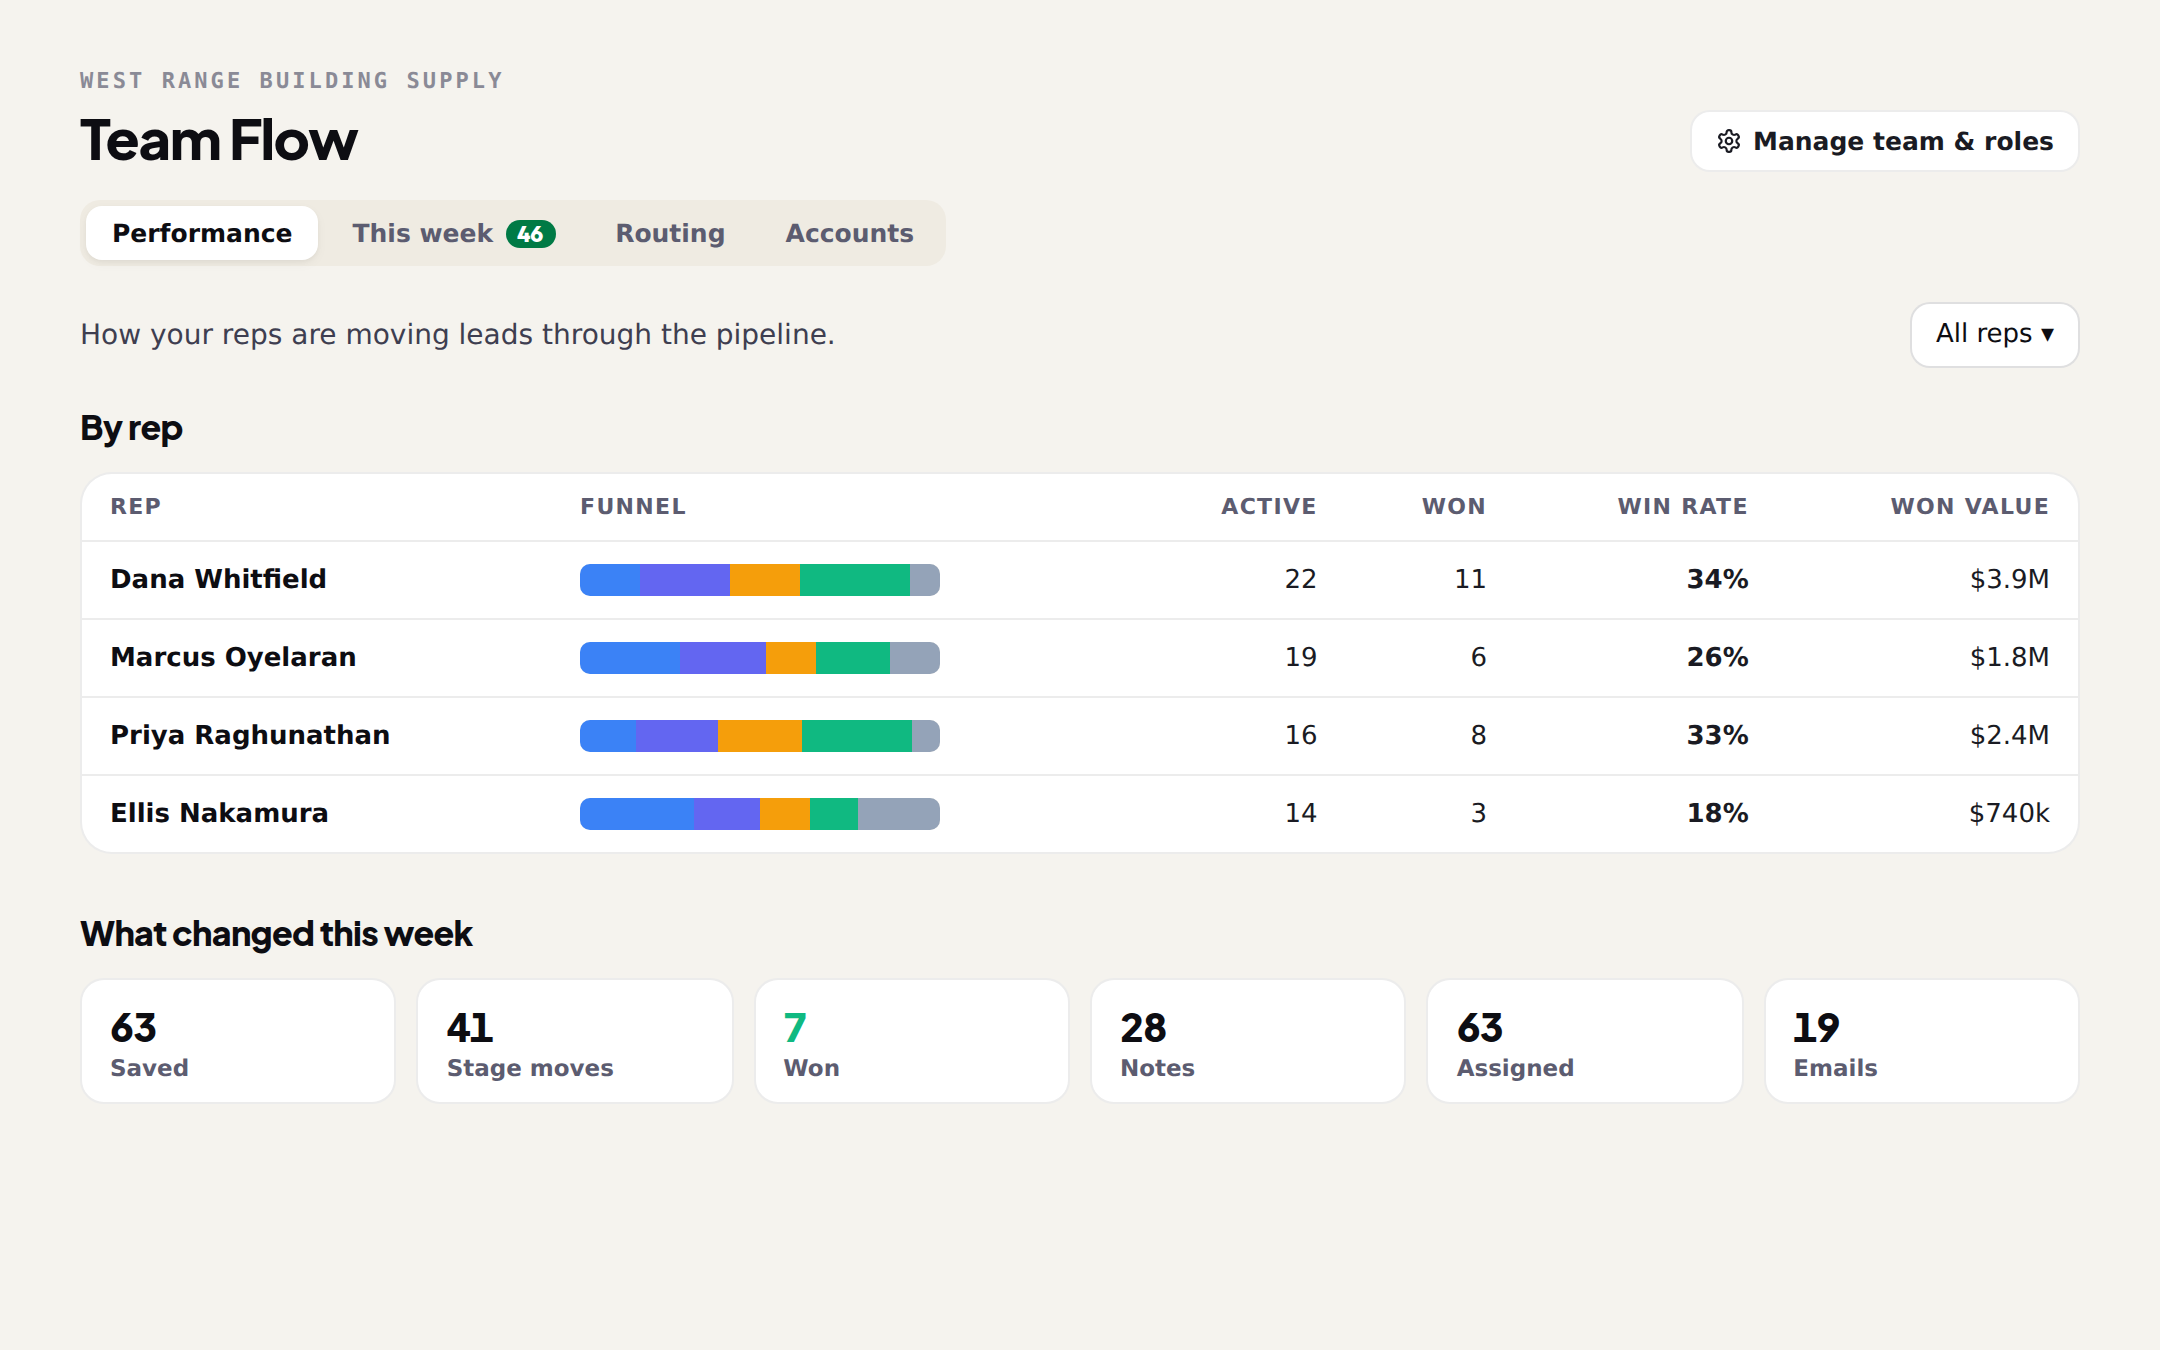
- 3Set rolesOwner (you; cannot be demoted here), Manager (manages members, assigns leads, sees Performance, opens Team Flow), Member (a rep: their own pipeline). Managers and owners open Team Flow; members are sent to their pipeline.
- 4Know the seat priceTeams are Pro. Pro is $249 a month and includes your seat; each teammate who accepts is one more seat at $99 a month, prorated on the next invoice, with full Pro and their own Scout. Removing a member releases the seat with a prorated credit. 10 or more seats is an Enterprise conversation.
Shared and private
- Each rep's pipeline is their own. Managers can view any rep's board or everyone's; reps see theirs.
- Pipeline columns are shared. Rename or add a stage and every rep's board changes.
- The territory, the customer file, accounts and ownership are one team row. Set once, read everywhere.
- Project views are shared account-wide, so a project one rep opened is open for the team.
NoteReps can use your invite link before they have an account: the link survives sign-up, they accept, then set up, and their territory is the team's.